Documentation › How-to guides
How-to guides
Short, step-by-step recipes for the things people do most. Each names the console page to open; words in this style are things you click.
Getting work done
Give the agent a goal
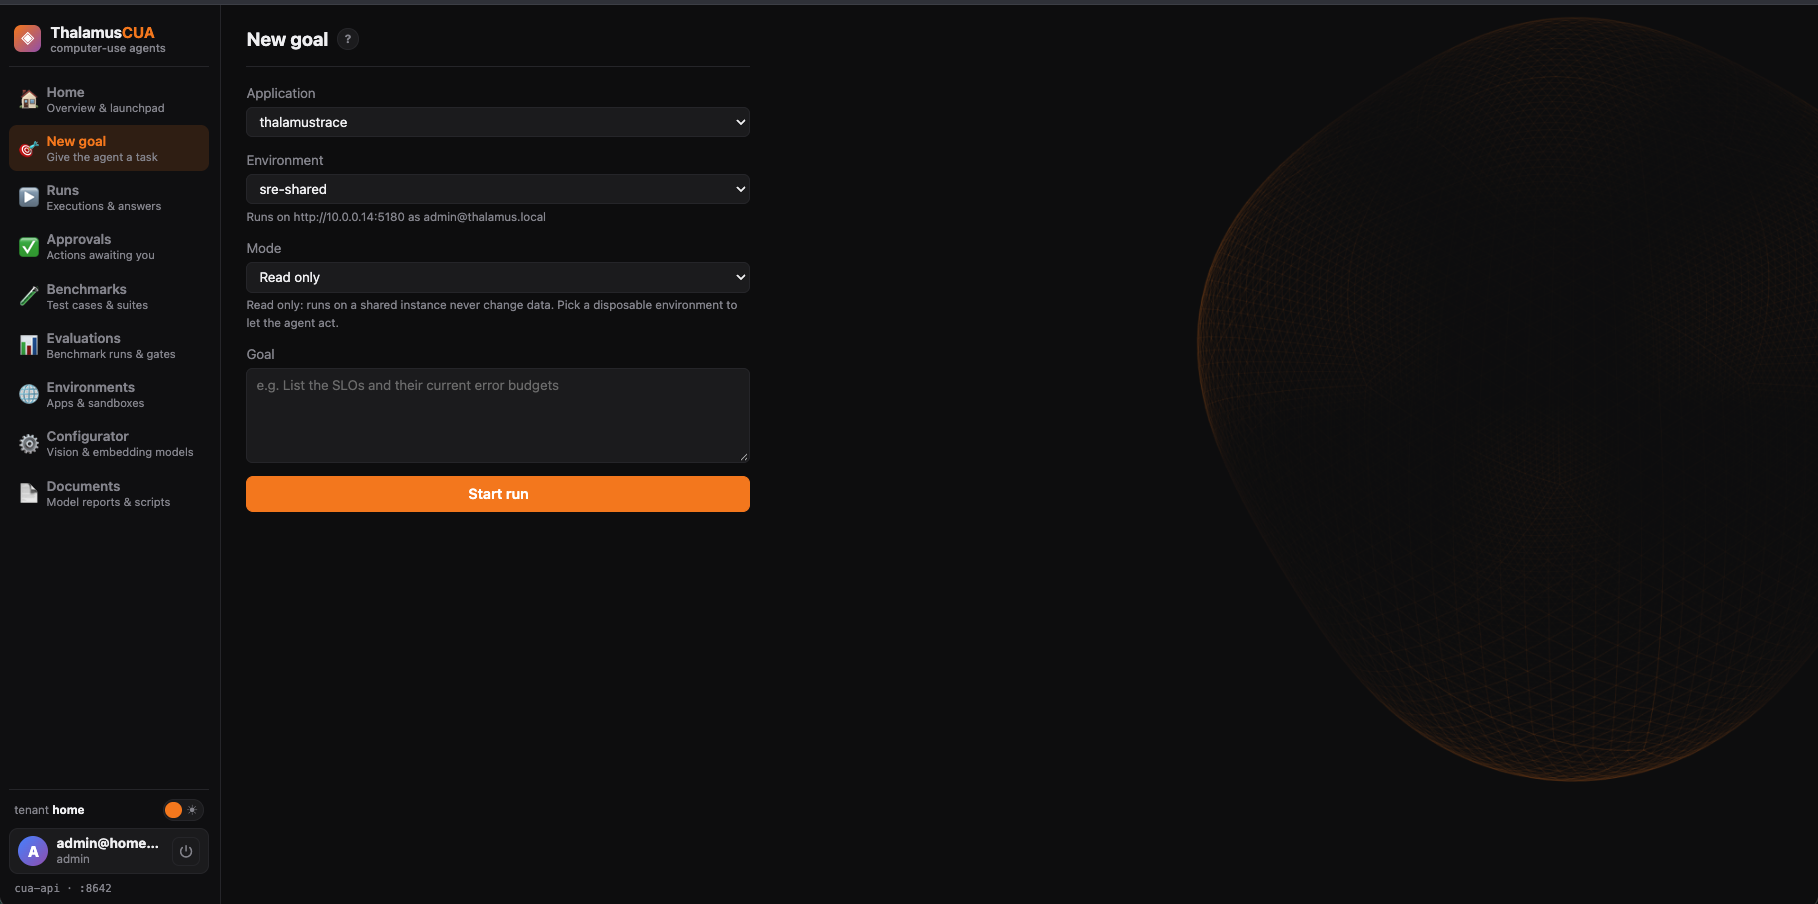
- Open New goal and pick the application and the environment (which instance) it should work in. The note under it shows the address and login it will use.
- Choose the mode. Only a disposable environment allows Supervised or Autonomous; everywhere else the run is Read only.
- Describe what you want in plain words — for example “Acknowledge the open alert for checkout latency” — and press Start run.
- If the goal is unclear, the agent asks under “Before I act, please clarify”. Answer each question and press Answer and continue.
- When planning finishes the run starts and its run page opens. It is also listed under Runs.
Review and adjust a goal’s plan
- Find the goal’s id in the Goal column of Runs, and open
/goals/<goal id>/plan. - Go through the tasks in order: each shows its risk level, its skill and the checks that decide when it is done.
- Reorder with ↑ and ↓, rewrite what a task should do in its text box, or Remove one that is wrong.
- Press Save draft, or Approve & save to approve it. Each save is a new version of the plan.
💡 New goal starts the run as soon as planning finishes, so an edited plan is for runs started afterwards; a run already going keeps the plan it started with.
Watch a run
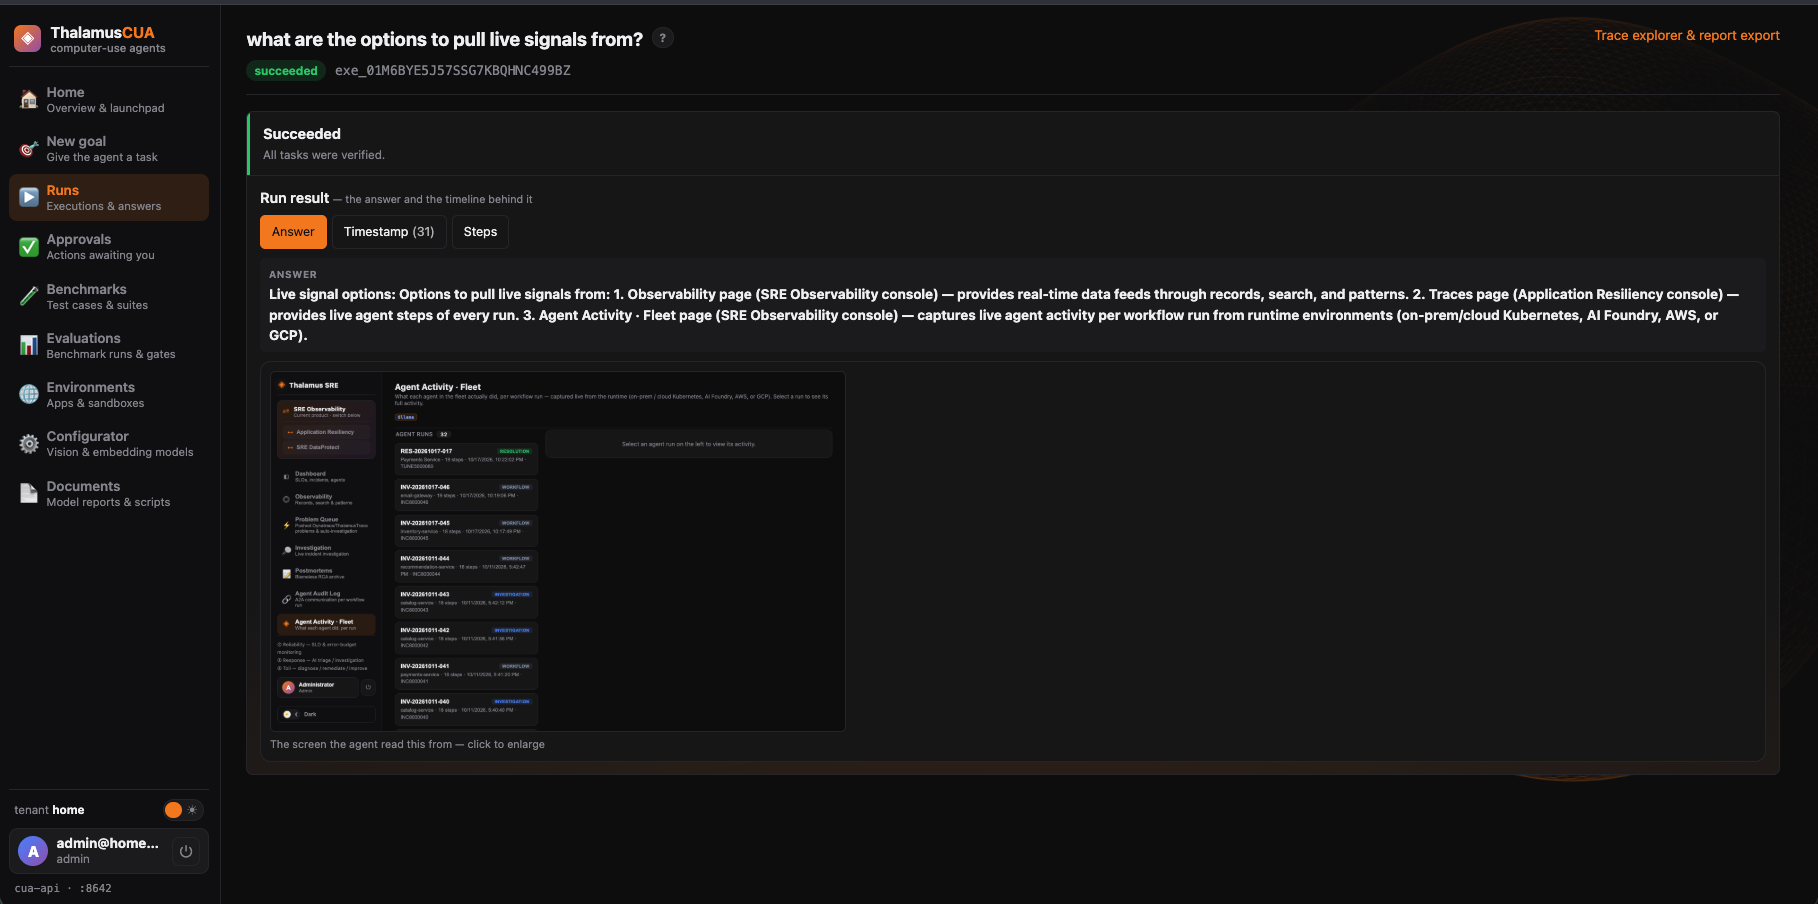
- Open Runs and pick the run. Its state says whether it is running, waiting for you, succeeded, failed or cancelled.
- The stage banner says what it is doing now; for a failed run it gives the likely cause. The page updates as the run works.
- Answer shows the result and the screen it was read from, Timestamp the activity log, and Steps each action with its screenshot and reason.
- When it finishes, watch its playback, or open Trace explorer & report export for every observation and a downloadable report.
💡 The console doesn’t show a live view of the screen yet: follow the step screenshots, which appear as the agent works.
Step in while it works
- Send a hint — type in Send a hint… on the run page; the agent uses it in its next decision (only while the run is running).
- Approve or reject — high-risk actions wait in Approvals and on the run’s own page. Rejecting blocks only that agent’s work; the rest carries on.
- Cancel — Cancel run in the run page’s header asks you to confirm. (Stop in its status bar cancels without asking.)
- Pause and resume (API only for now):
POST /v1/executions/{id}/pauseand/resume. - Take over (API only for now):
POST /v1/agent-runs/{id}/takeoverpauses the agent after its current action so you can drive the screen yourself; your input is recorded like any other action.
💡 A run sitting BLOCKED usually means an approval is waiting, or one was rejected.
Setting up
Point an environment at a real instance
- Open Environments and pick an environment of your application.
- Set its address and the login the agent should use. The password is stored encrypted and never shown again.
- Use a disposable environment when the agent must change data. A shared one is read-only to the agent: writes are refused and logged.
- For a disposable environment, snapshot it once it is in a good state, and reset it to that snapshot between runs.
Review what the agent knows about an application
- Each application has a brief: a description of what it is, its screens and how it is used. The agent plans from it.
- Press Generate draft: a large vision model drafts the brief from the application’s screens.
- Read and edit the draft, then press Approve & commit. Only an approved brief becomes trusted context for the agent.
- On the same page, accept or reject selector-healing proposals: suggested fixes for how the agent finds a control whose screen changed.
Choose which models do which job
- Open Configurator (admins can change it).
- Under Vision language models, choose a model for Planning (interprets the goal and plans), Executor (decides each step) and Escalation (takes over hard steps, recovery and loops).
- Under Embedding models, choose the Primary and Fallback models used to search application knowledge.
- To add a model from Hugging Face, add it by name; it downloads on its server and can be chosen once installed.
- Press Save. New plans and runs use the new models; runs already going keep theirs.
💡 Prefer the -instruct vision models: the thinking ones can spend minutes on a single step.
Measuring
Test the agent on a benchmark
- Open Benchmarks to see the test cases for each application; create, copy or edit them.
- Start an evaluation from Evaluations (or a benchmark’s Run evaluation) and choose where it runs: a real instance (an environment with an address and login) or the mock site.
- On a real instance it checks the instance is healthy and the login works before starting, and before every case.
- Read the results: what passed, what failed and why. Promote a confirmed failure into the regression suite so it is checked every time.
💡 On a shared instance, cases that would change data are skipped and listed — the evaluation stays read-only.
Compare models before choosing one
- On the Configurator, pick the model for a role — don’t save yet. If it has been measured, a note appears under the role with a table comparing it with the current executor, what the numbers say and a recommendation.
- Follow Open the report, raw results and scripts to read the full report on the Documents page.
- Open a raw JSON report there to check a number: every calibration answer, and each task’s steps, tokens, step times and failure reason.
- Save the model, or press Undo changes to keep what you had.
- A model with no results yet has no note. Thalamus publishes new measurements with ThalamusCUA; see New measurements.
💡 Results hold for the hardware they were measured on, which each report names.
Integrating
Send the agent work from code
- From Python:
Client(...).login(...), thencreate_goal,start_executionandwait_execution. - From a shell:
cua-sdk submitandcua-sdk wait. - From another agent or workflow engine:
POST /v1/triggerswith a service token and an optional webhook for when it finishes. - Details in Developers.